Loose Roses & Foliage | Building Depth, Balance and Beautiful Color
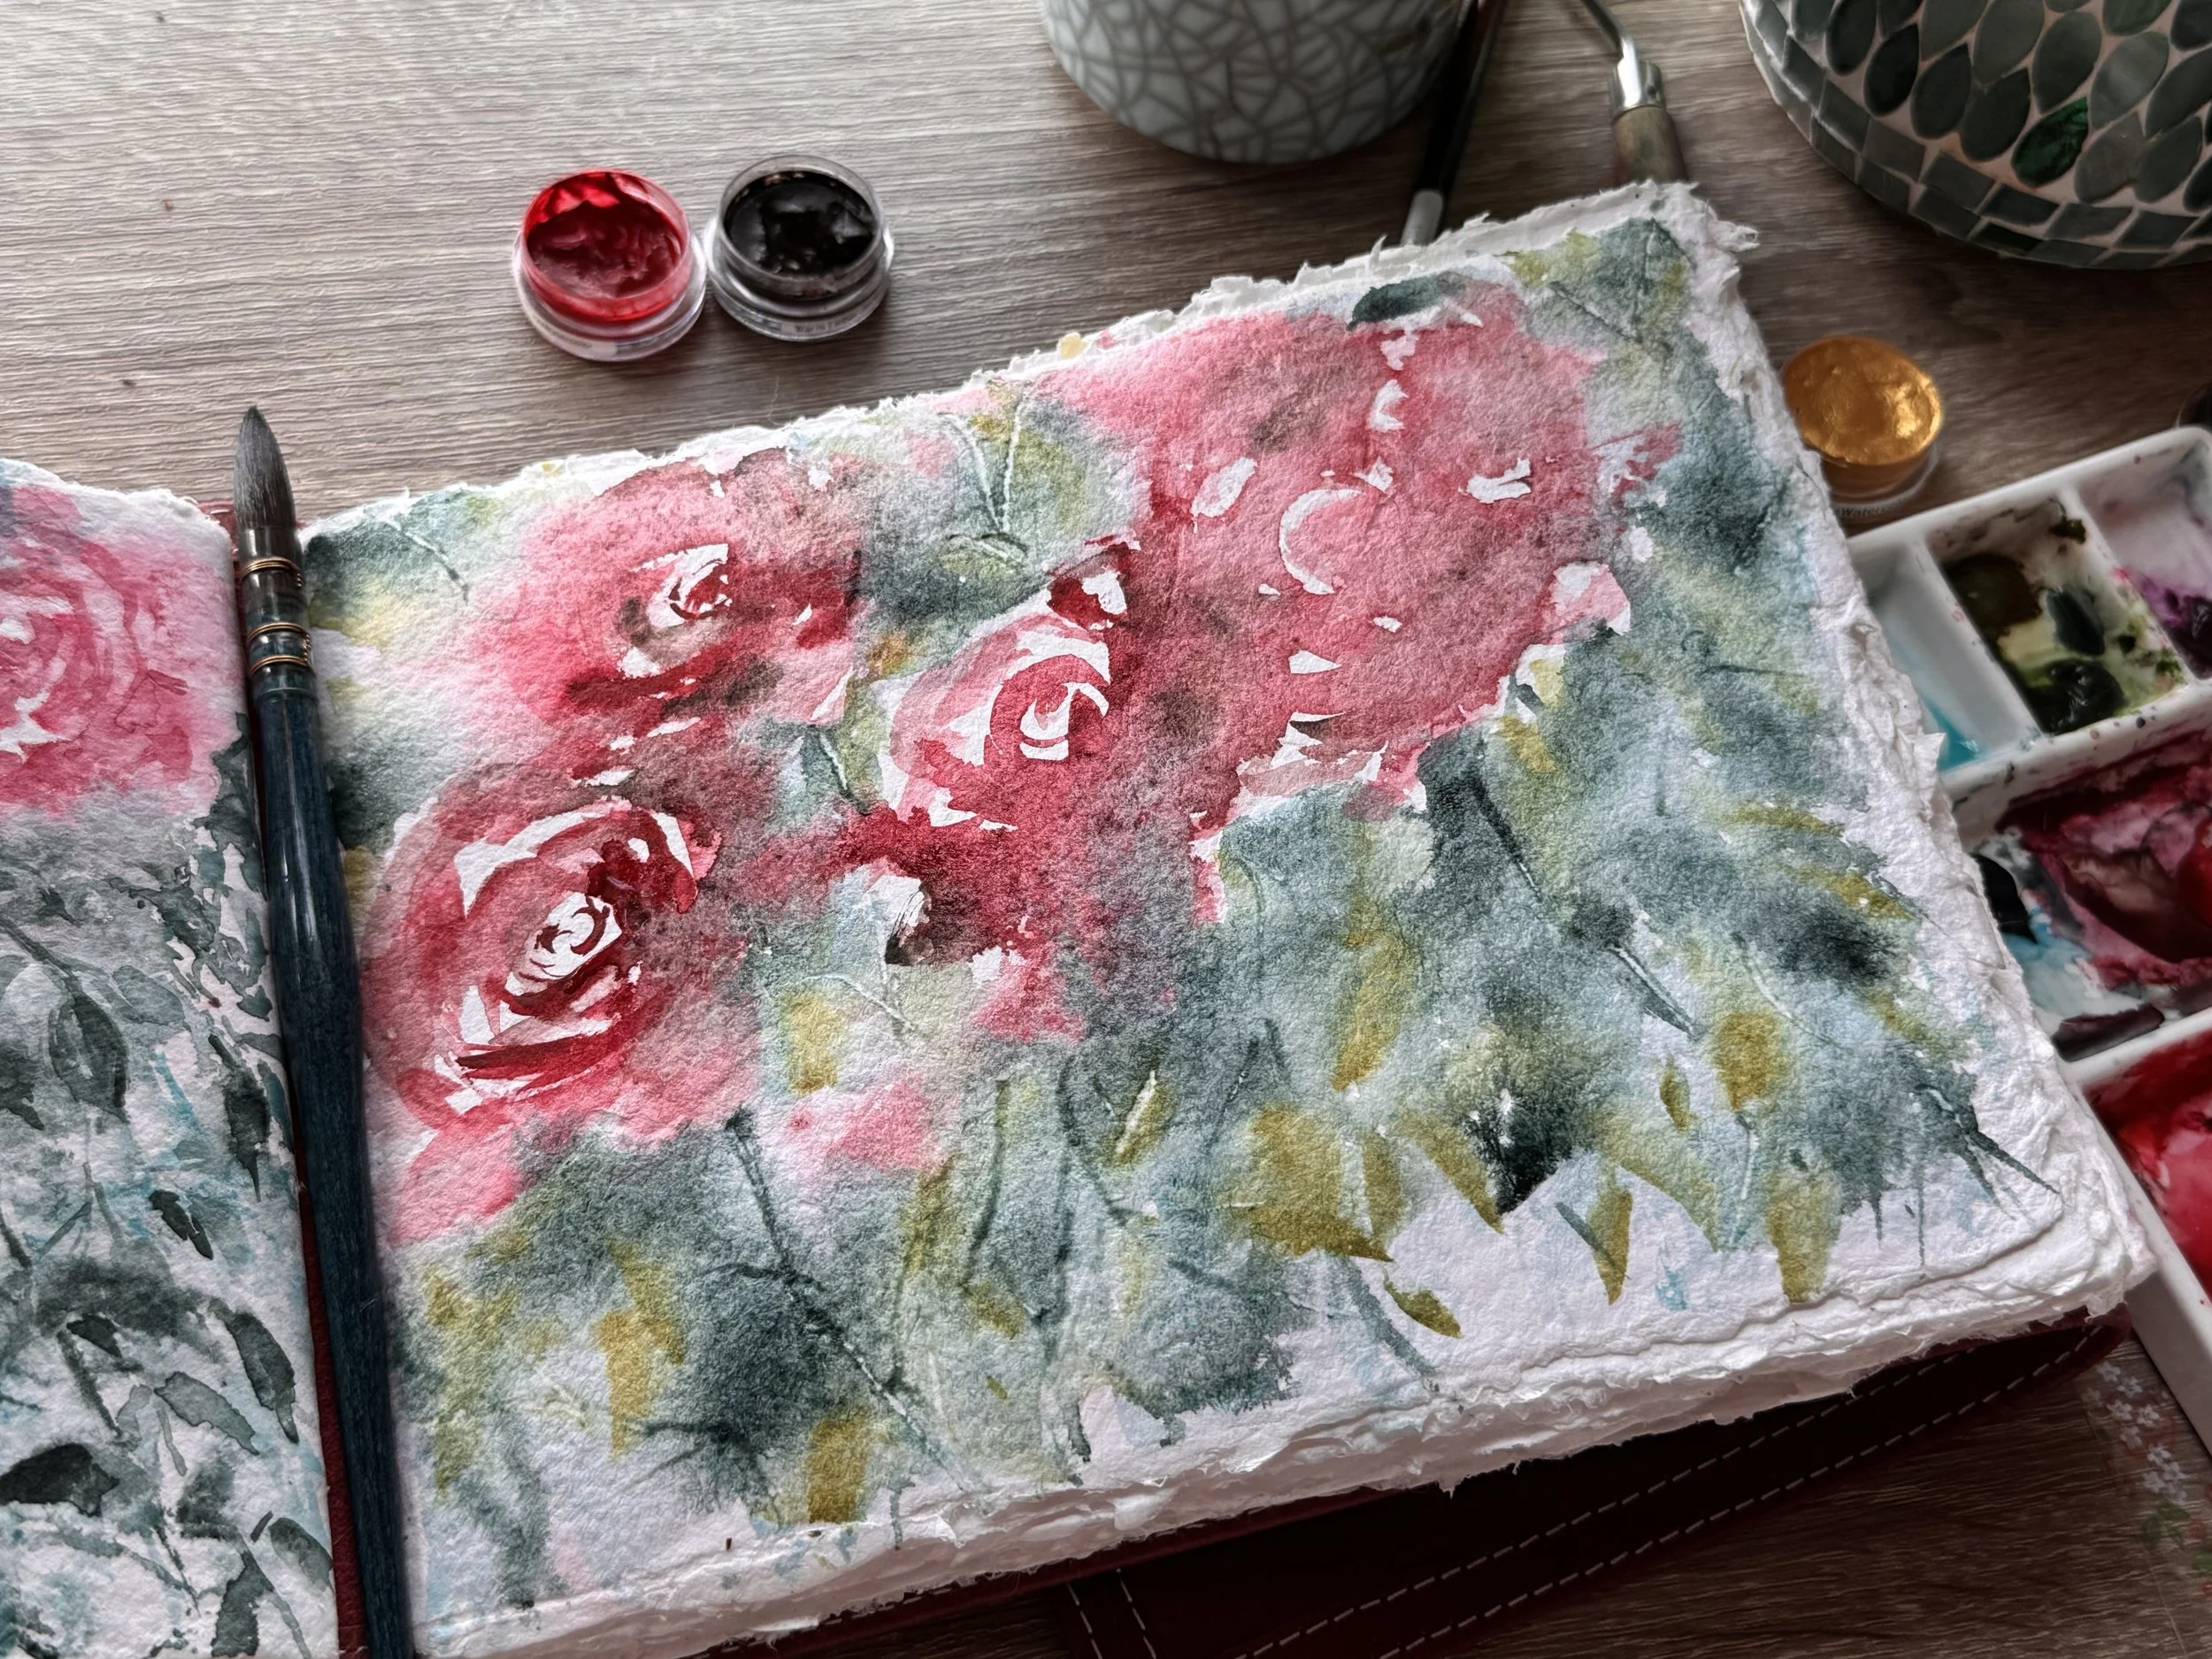
Welcome to the first lesson in our new Skilled Builders Workshop rose series. Over the coming lessons, we’ll develop this painting step by step, exploring not only how to paint loose roses, but also how to create depth, harmony, and movement throughout an entire composition.
In today’s session, I begin with a series of loose roses and expressive foliage studies while discussing one of my favorite design tools—color. We’ll explore how color temperature, intensity, and value can help establish depth and balance, creating a painting that feels both cohesive and inviting.
I also demonstrate techniques for establishing foliage backgrounds and composition early in the process. By creating a strong foundation from the beginning, every layer that follows has a purpose and supports the overall design.
Studio Supplies
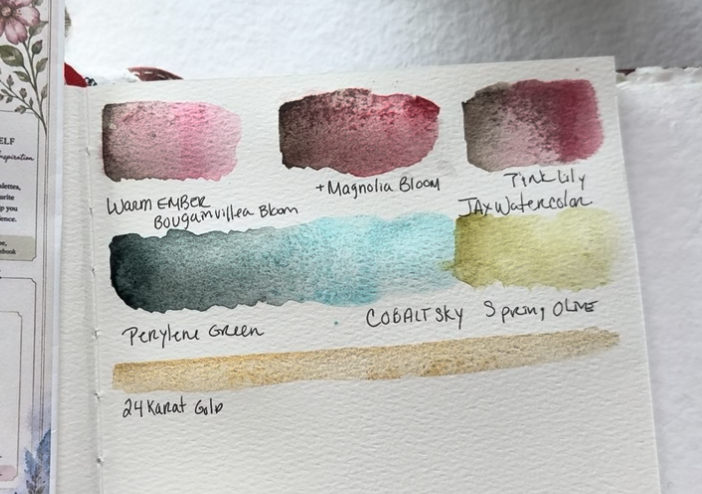
Jax Handmade Watercolor
Warm Ember / Magnolia Bloom (from the magnolia watercolor set)
Perylene Green (Available in Honeypots)
Cobalt Sky ( Available in Pans)
Spring olive (Available in Pans)
This lesson is all about laying the groundwork for the painting we’ll continue to develop together throughout the series. Take your time, enjoy the process, and don’t be afraid to experiment as you discover what works best for your own artistic style.
Part 1:
Welcome to the first lesson in our new Skilled Builders Workshop rose series. Over the coming lessons, we’ll develop this painting step by step, exploring not only how to paint loose roses, but also how to create depth, harmony, and movement throughout an entire composition.
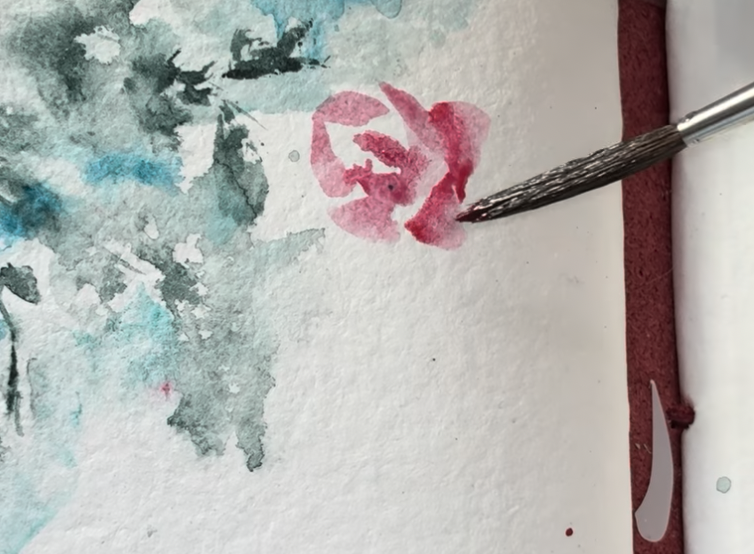
In today’s session, I begin with a series of loose roses and expressive foliage studies while discussing one of my favorite design tools—color. We’ll explore how color temperature, intensity, and value can help establish depth and balance, creating a painting that feels both cohesive and inviting.
I also demonstrate techniques for establishing foliage backgrounds and composition early in the process. By creating a strong foundation from the beginning, every layer that follows has a purpose and supports the overall design. This lesson is all about laying the groundwork for the painting we’ll continue to develop together throughout the series. Take your time, enjoy the process, and don’t be afraid to experiment as you discover what works best for your own artistic style.
Part 2:
Next lesson, we’ll continue building on this foundation and bringing our roses to life with additional layers, detail, and depth.
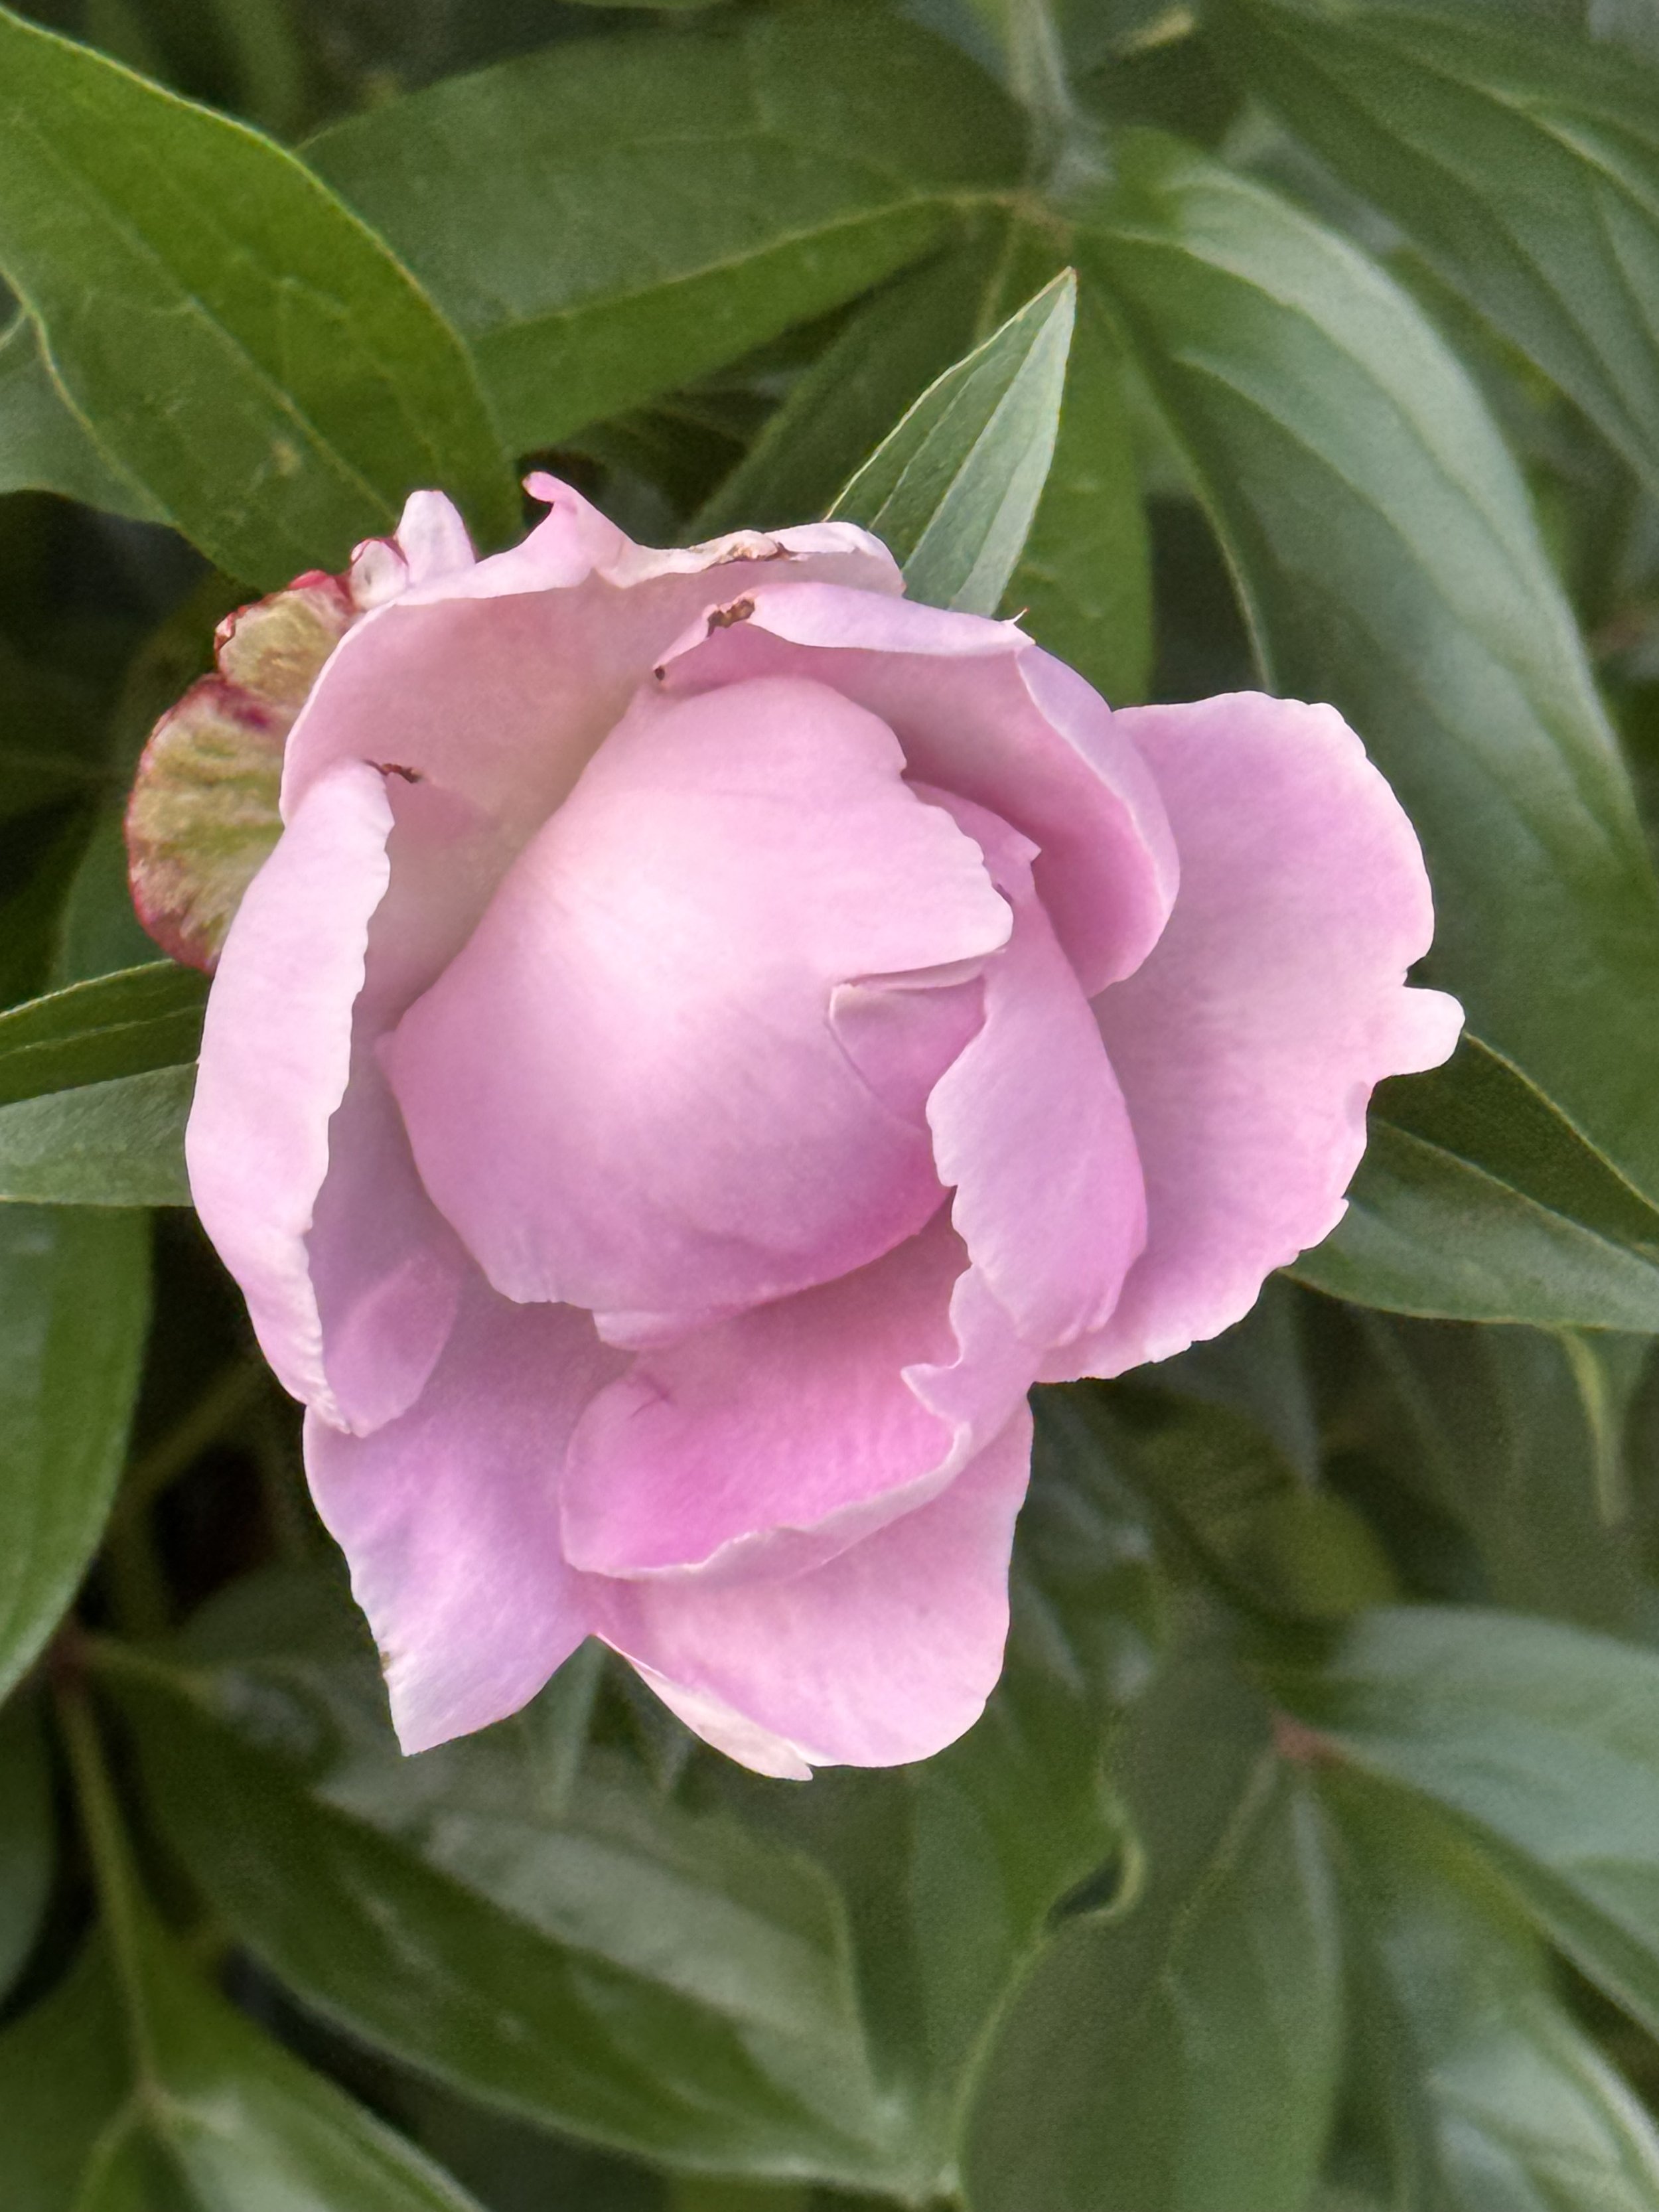
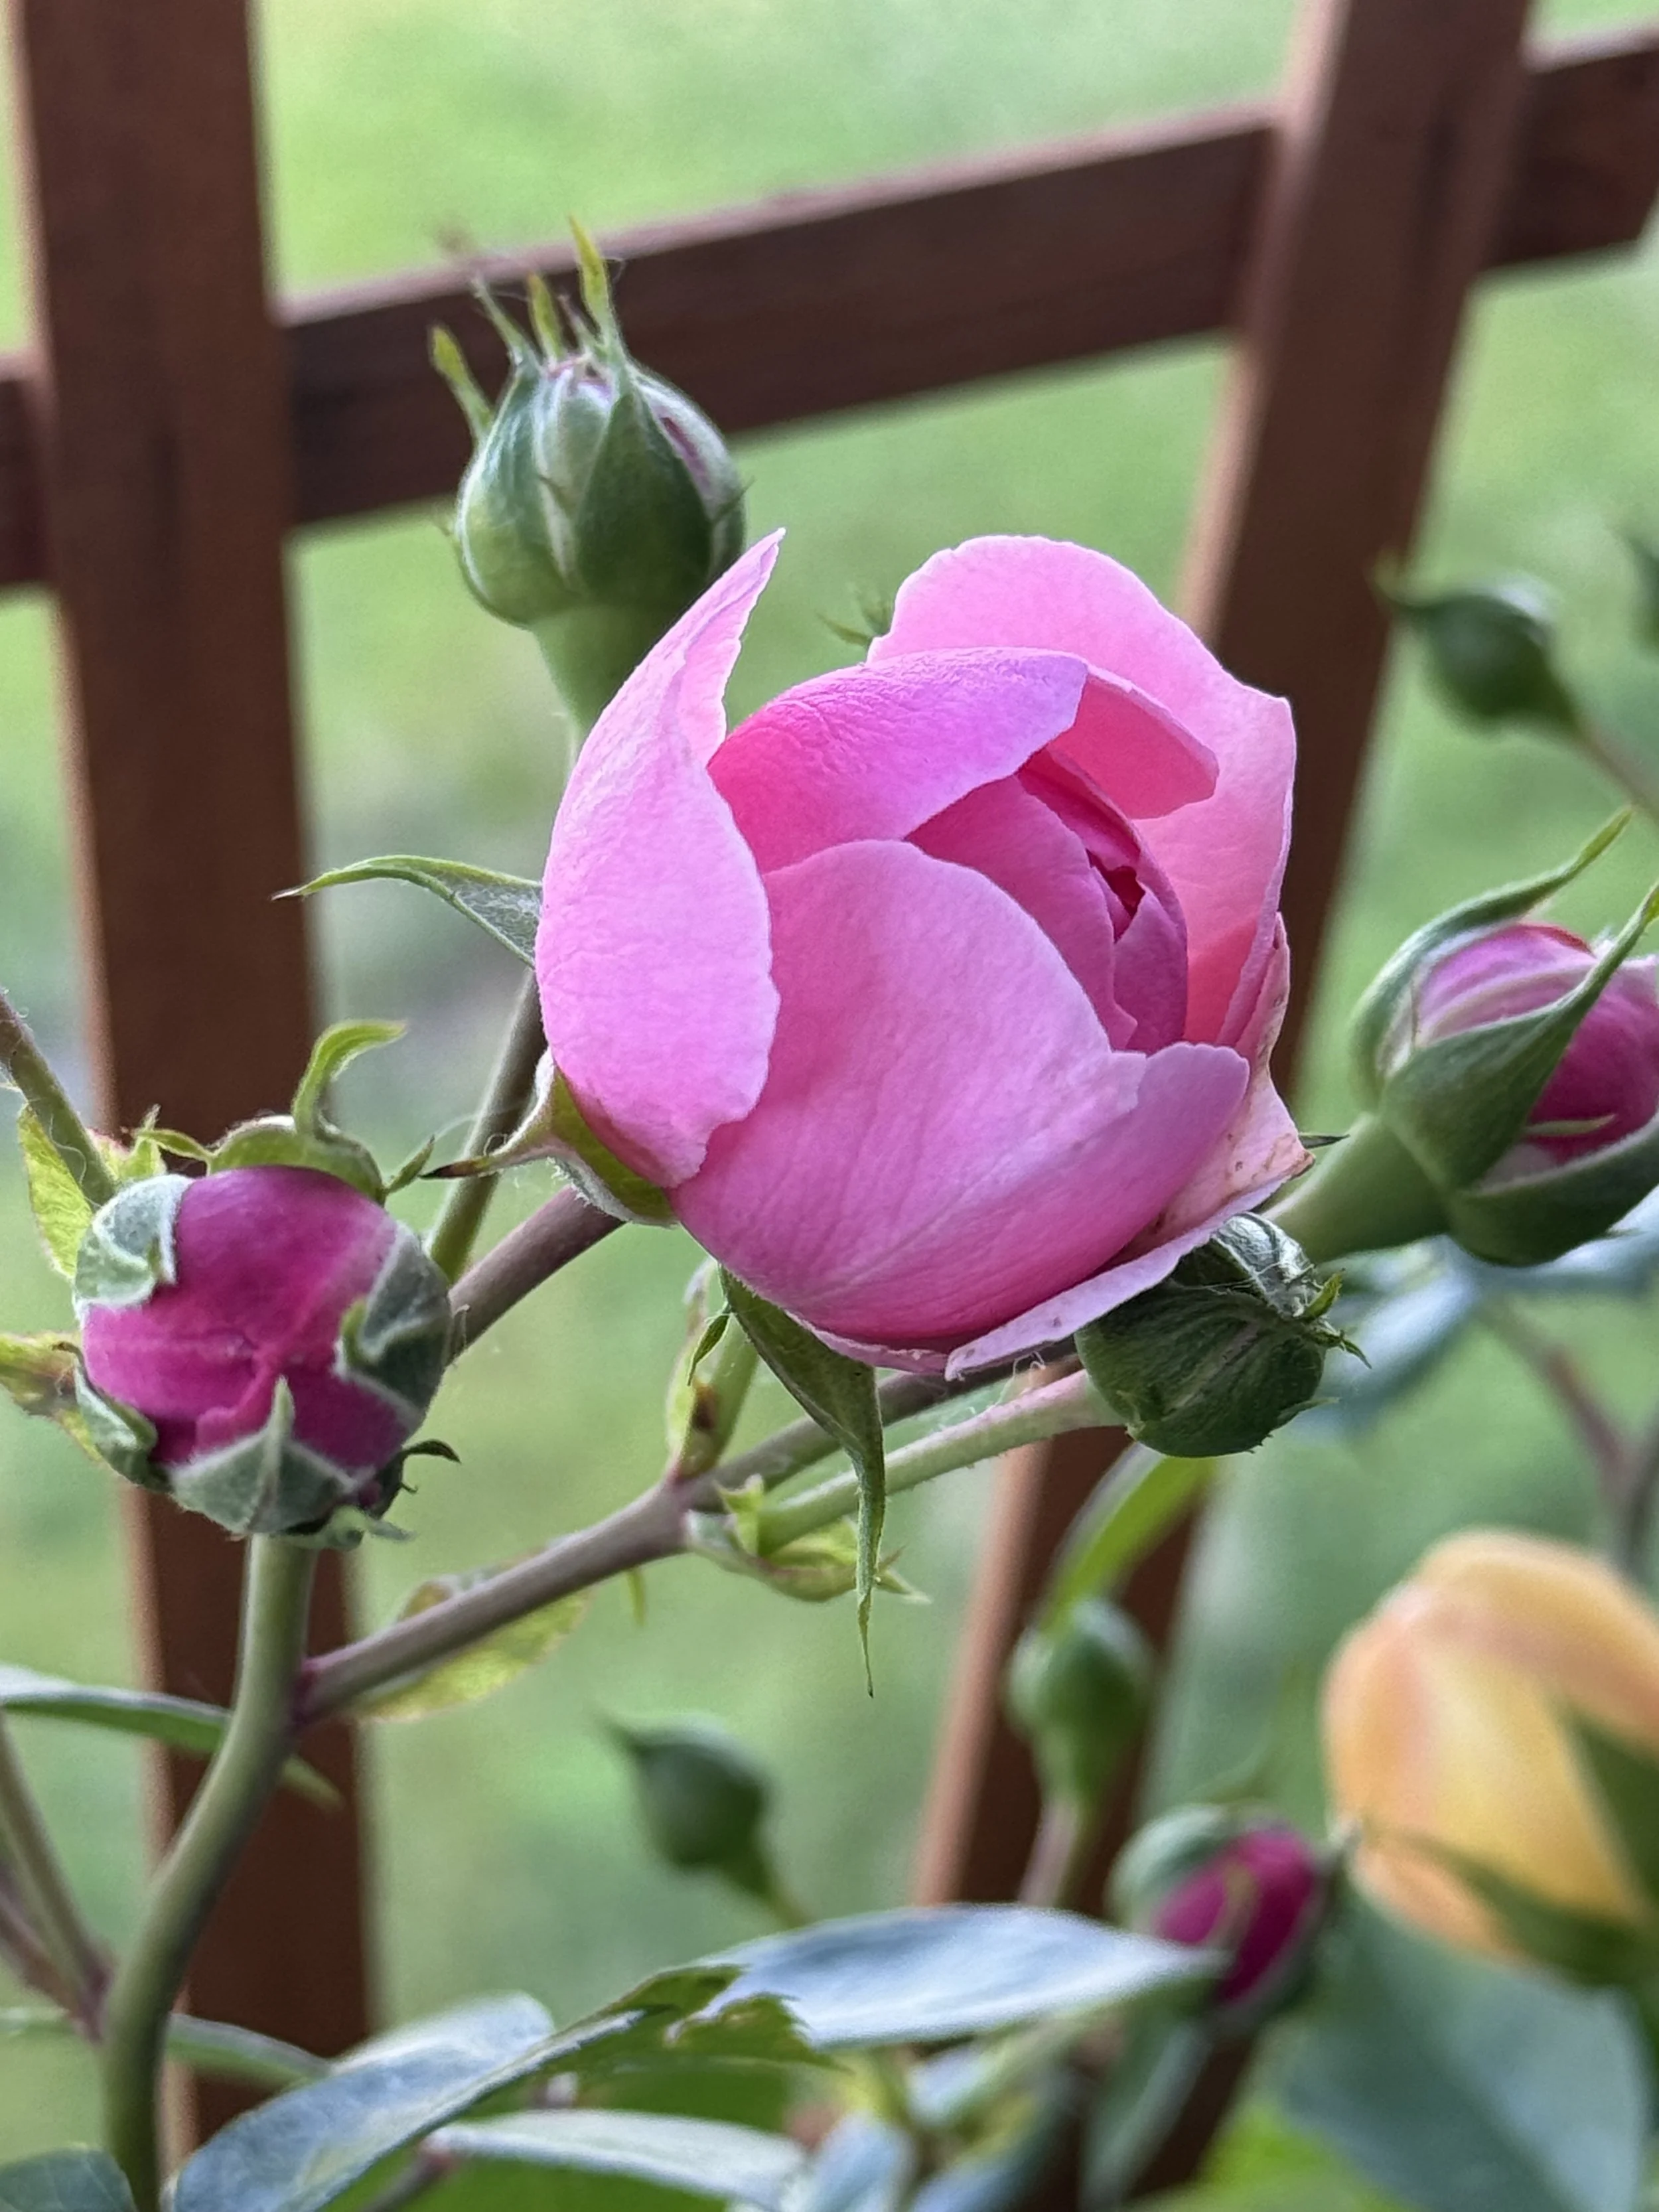
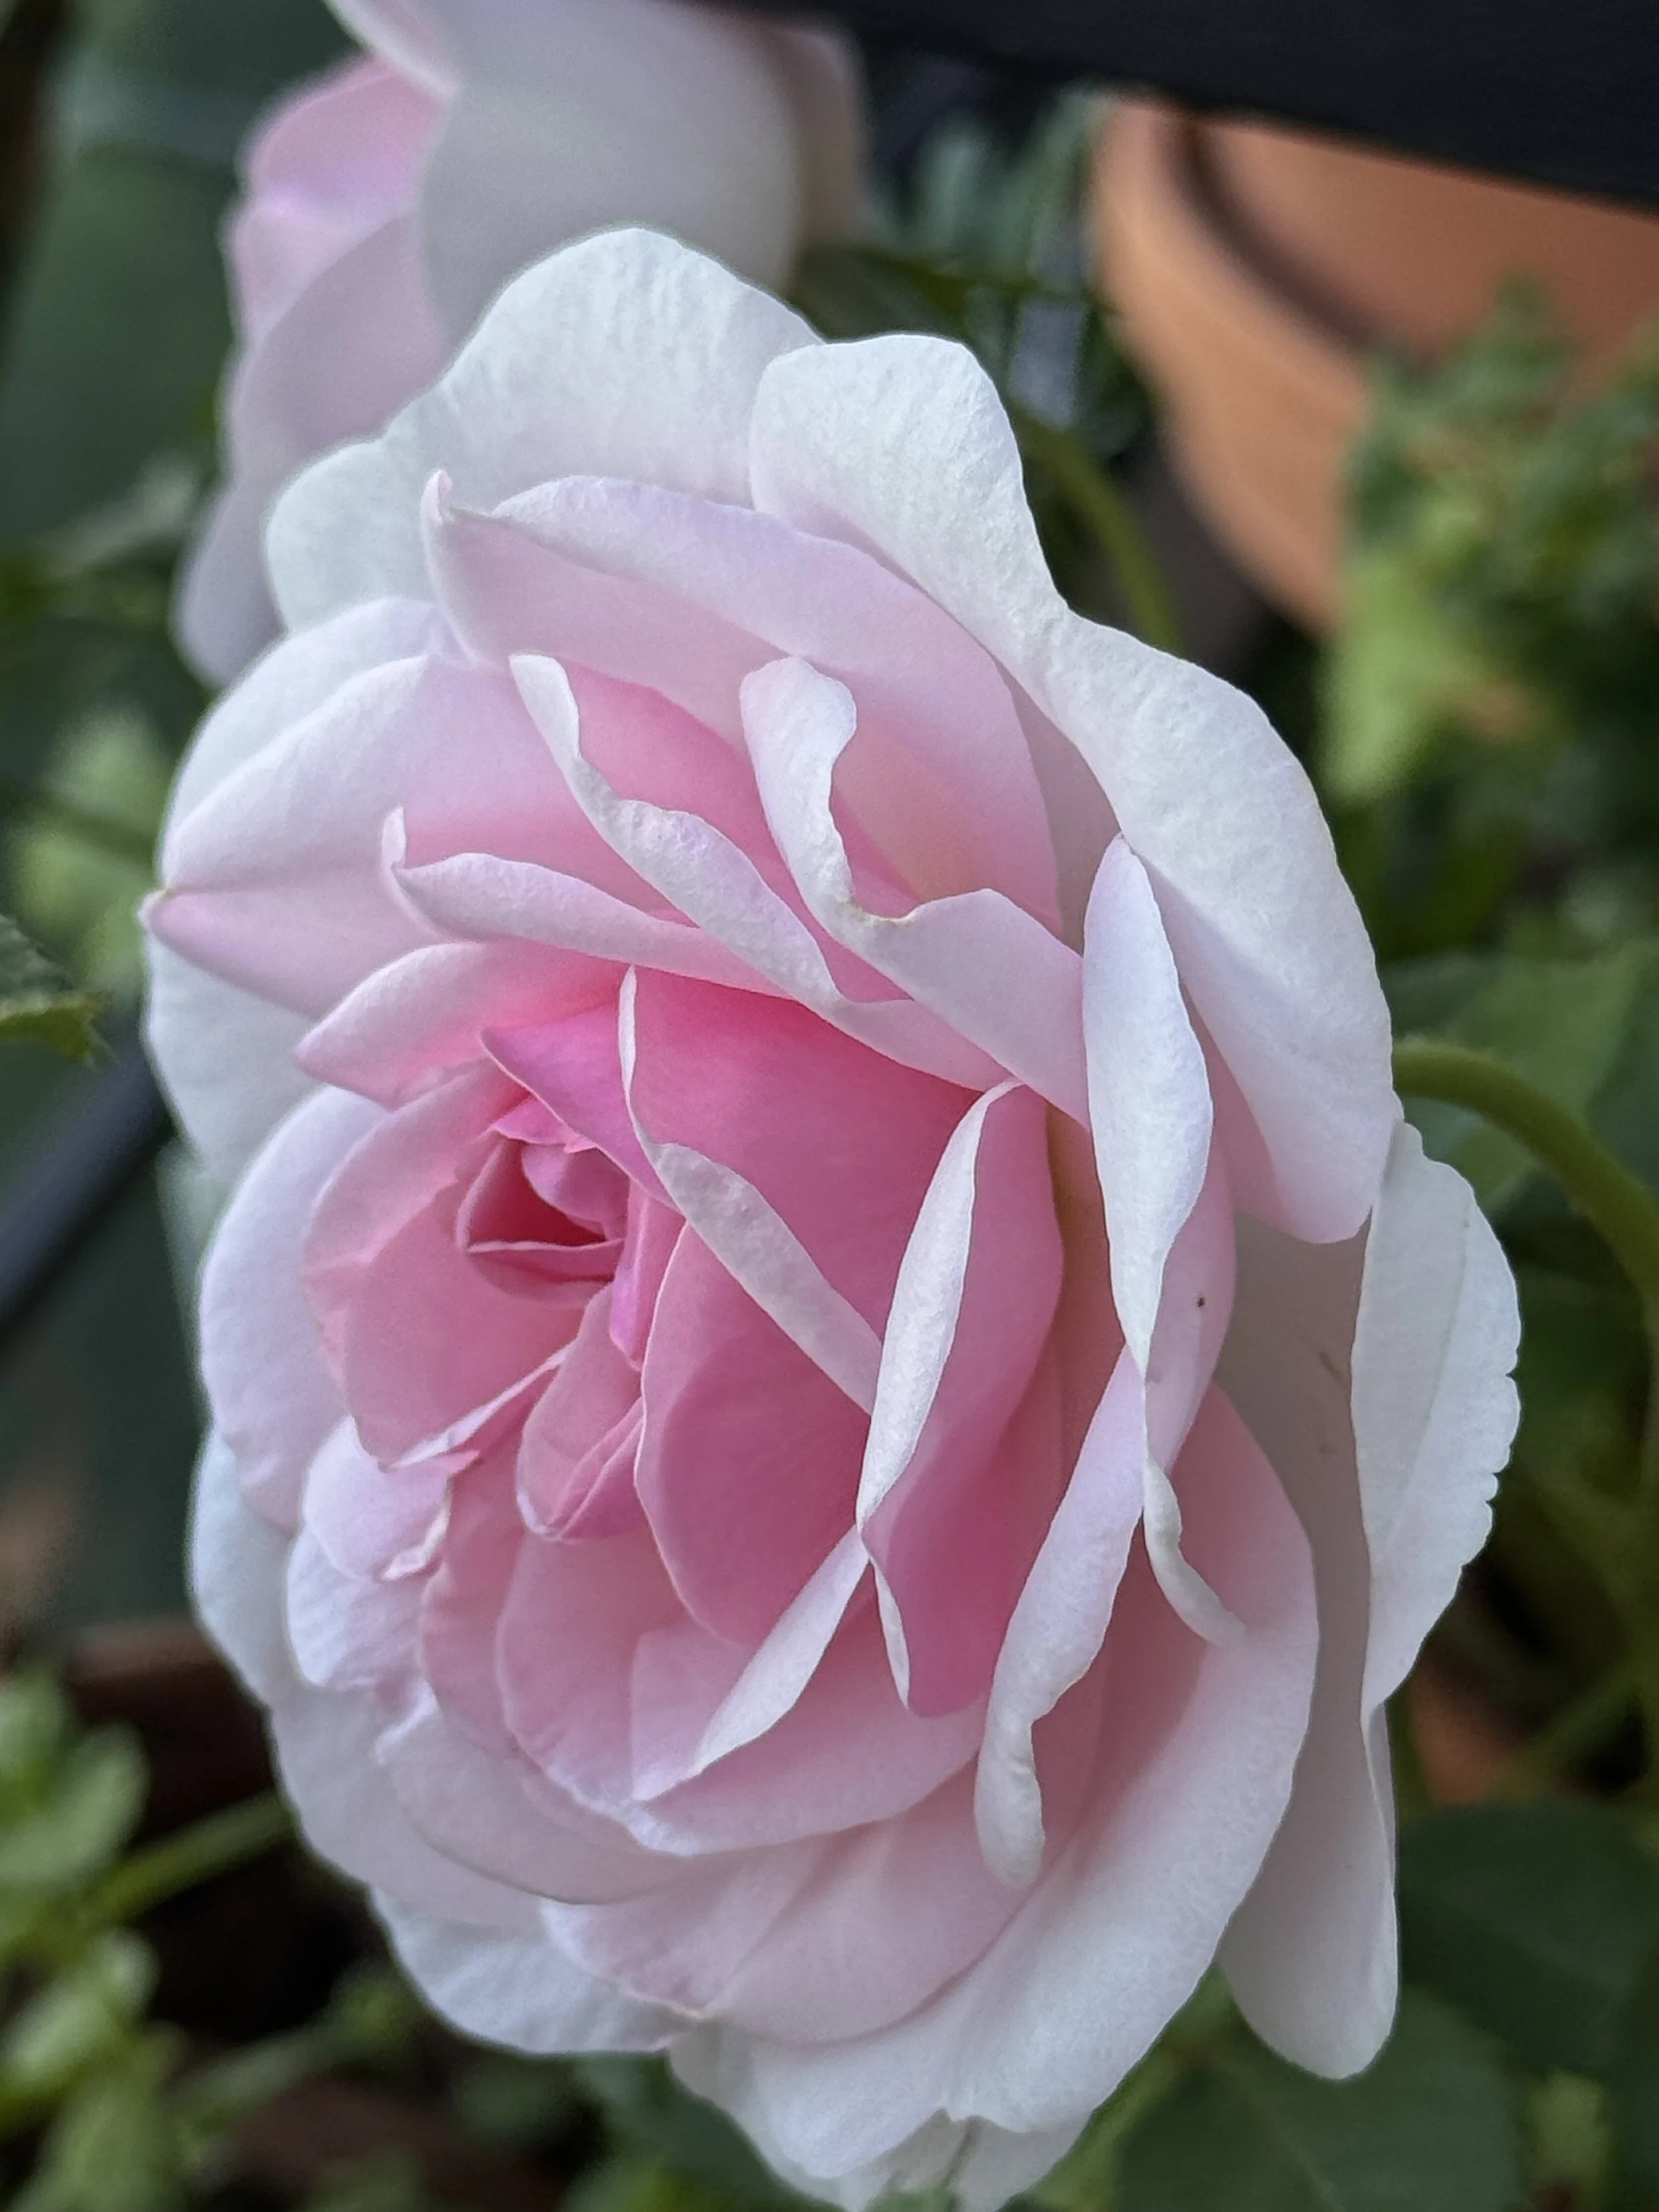
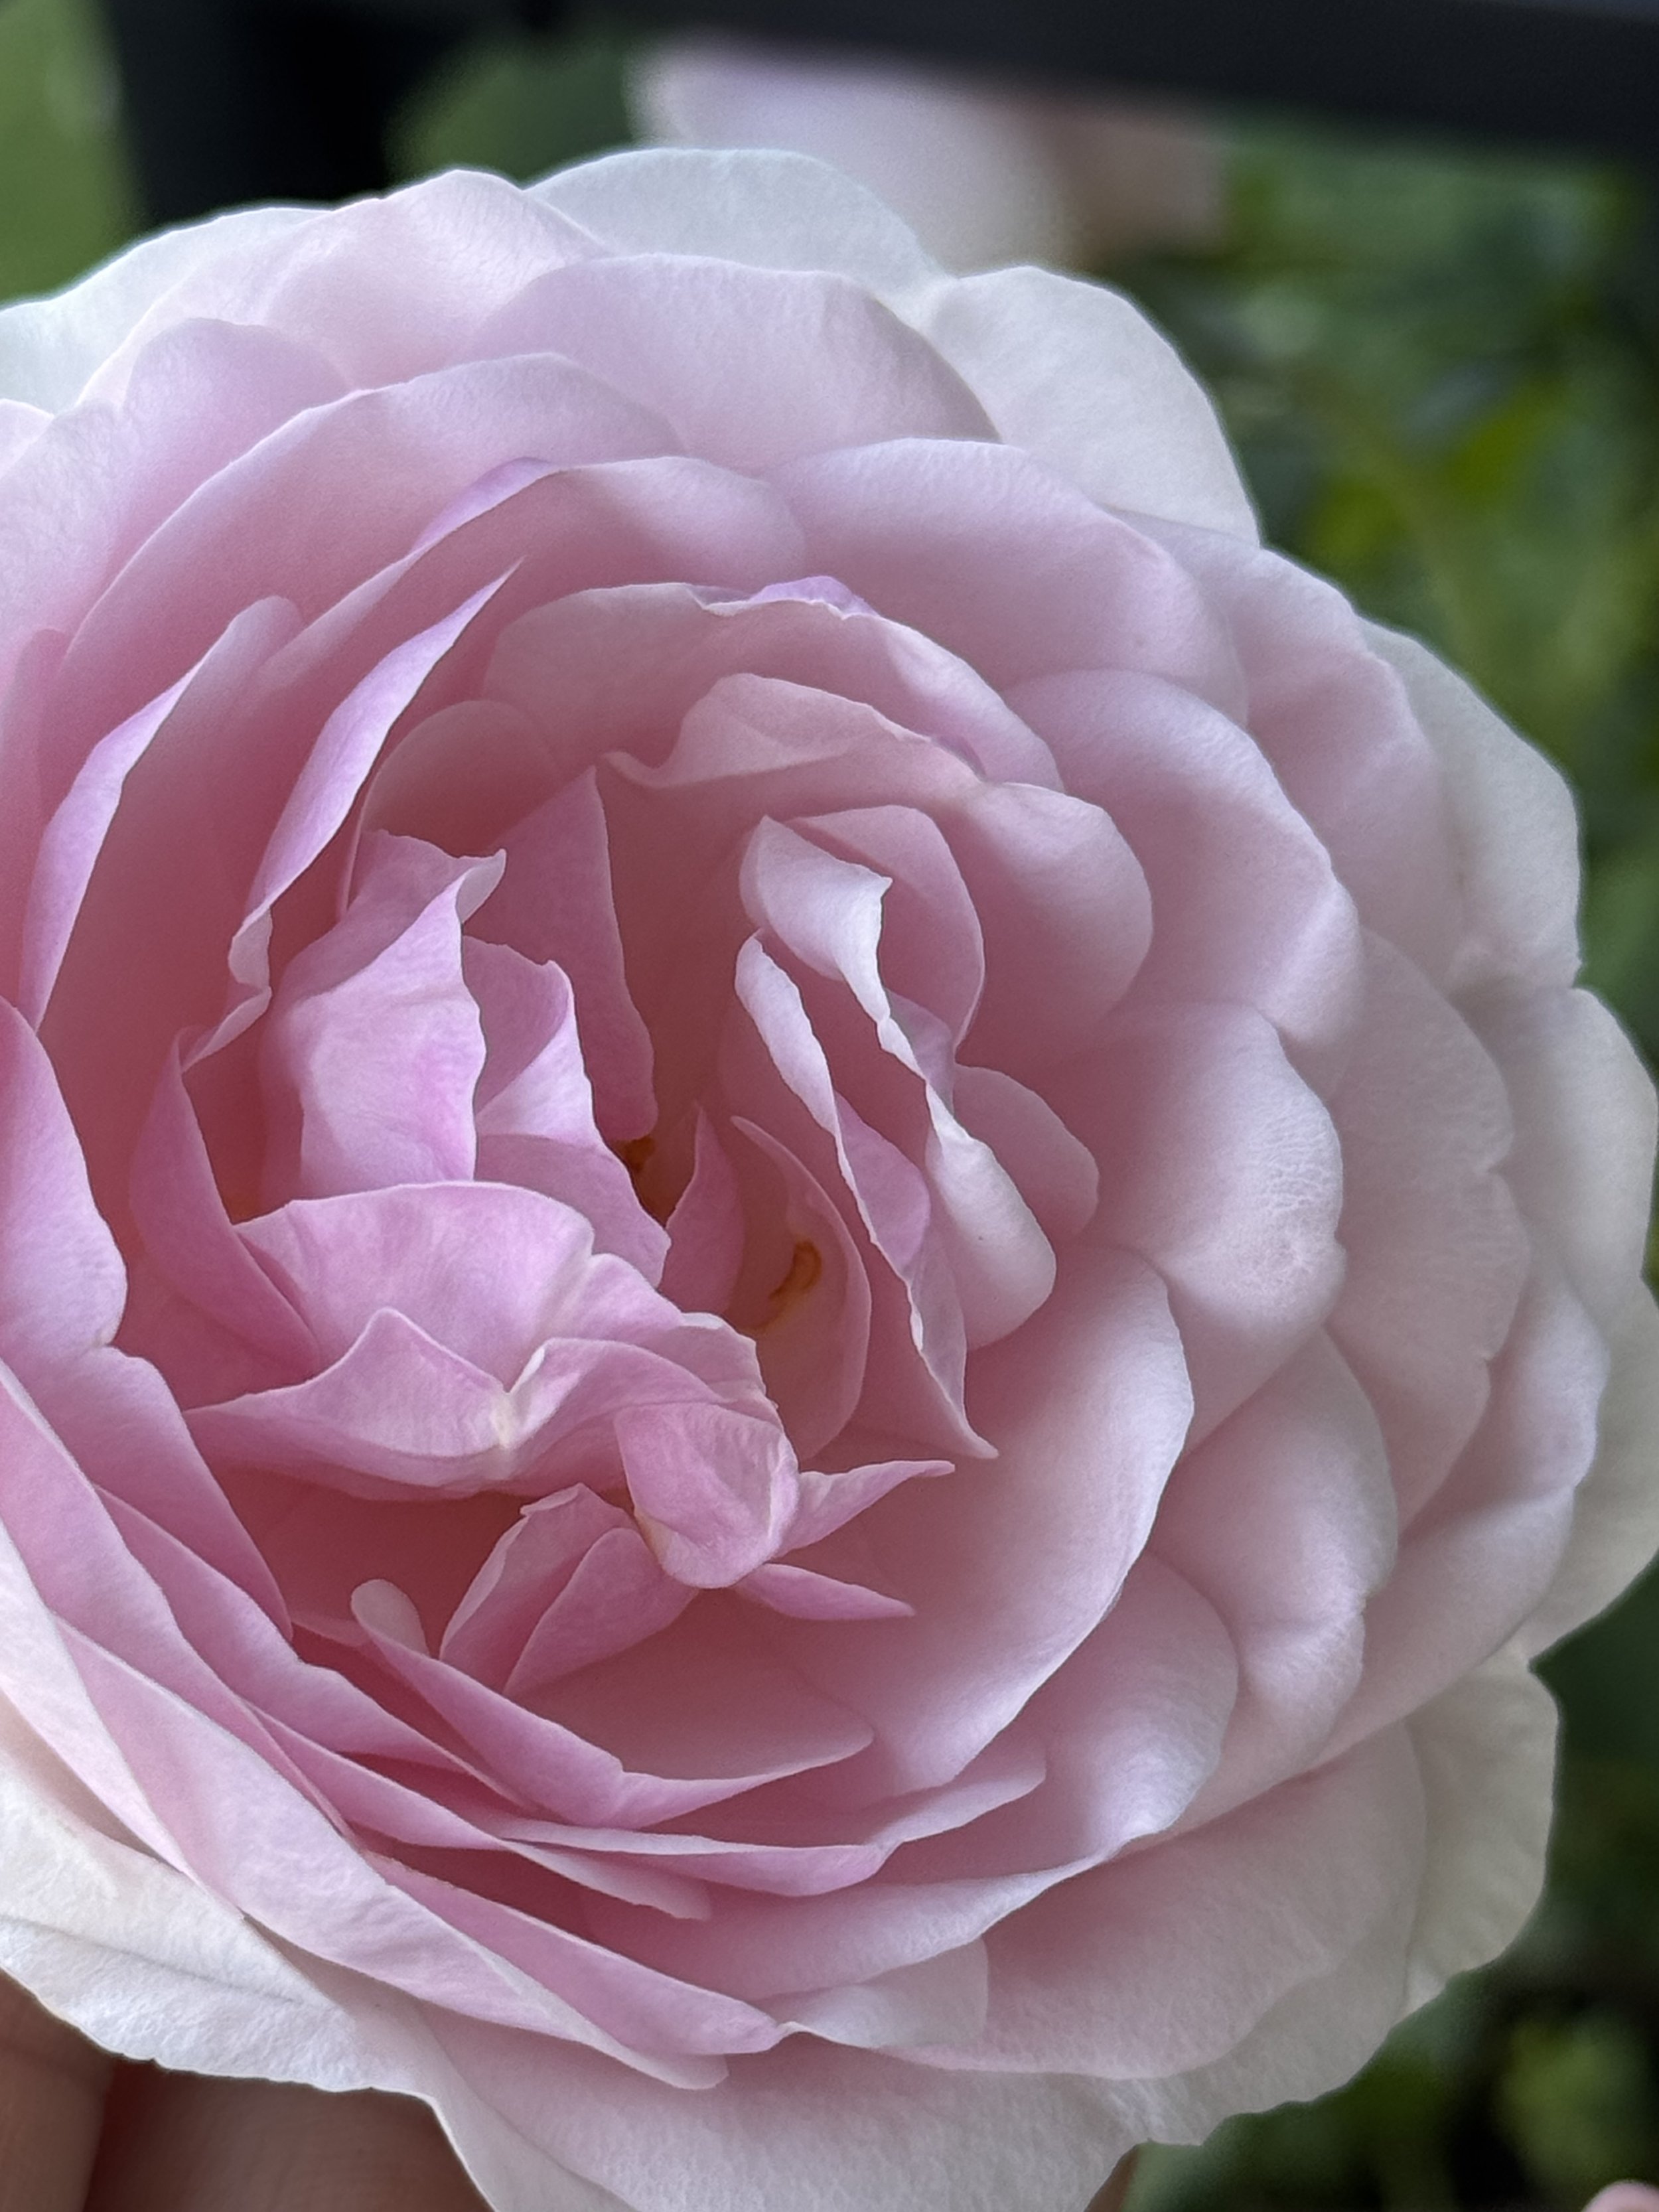
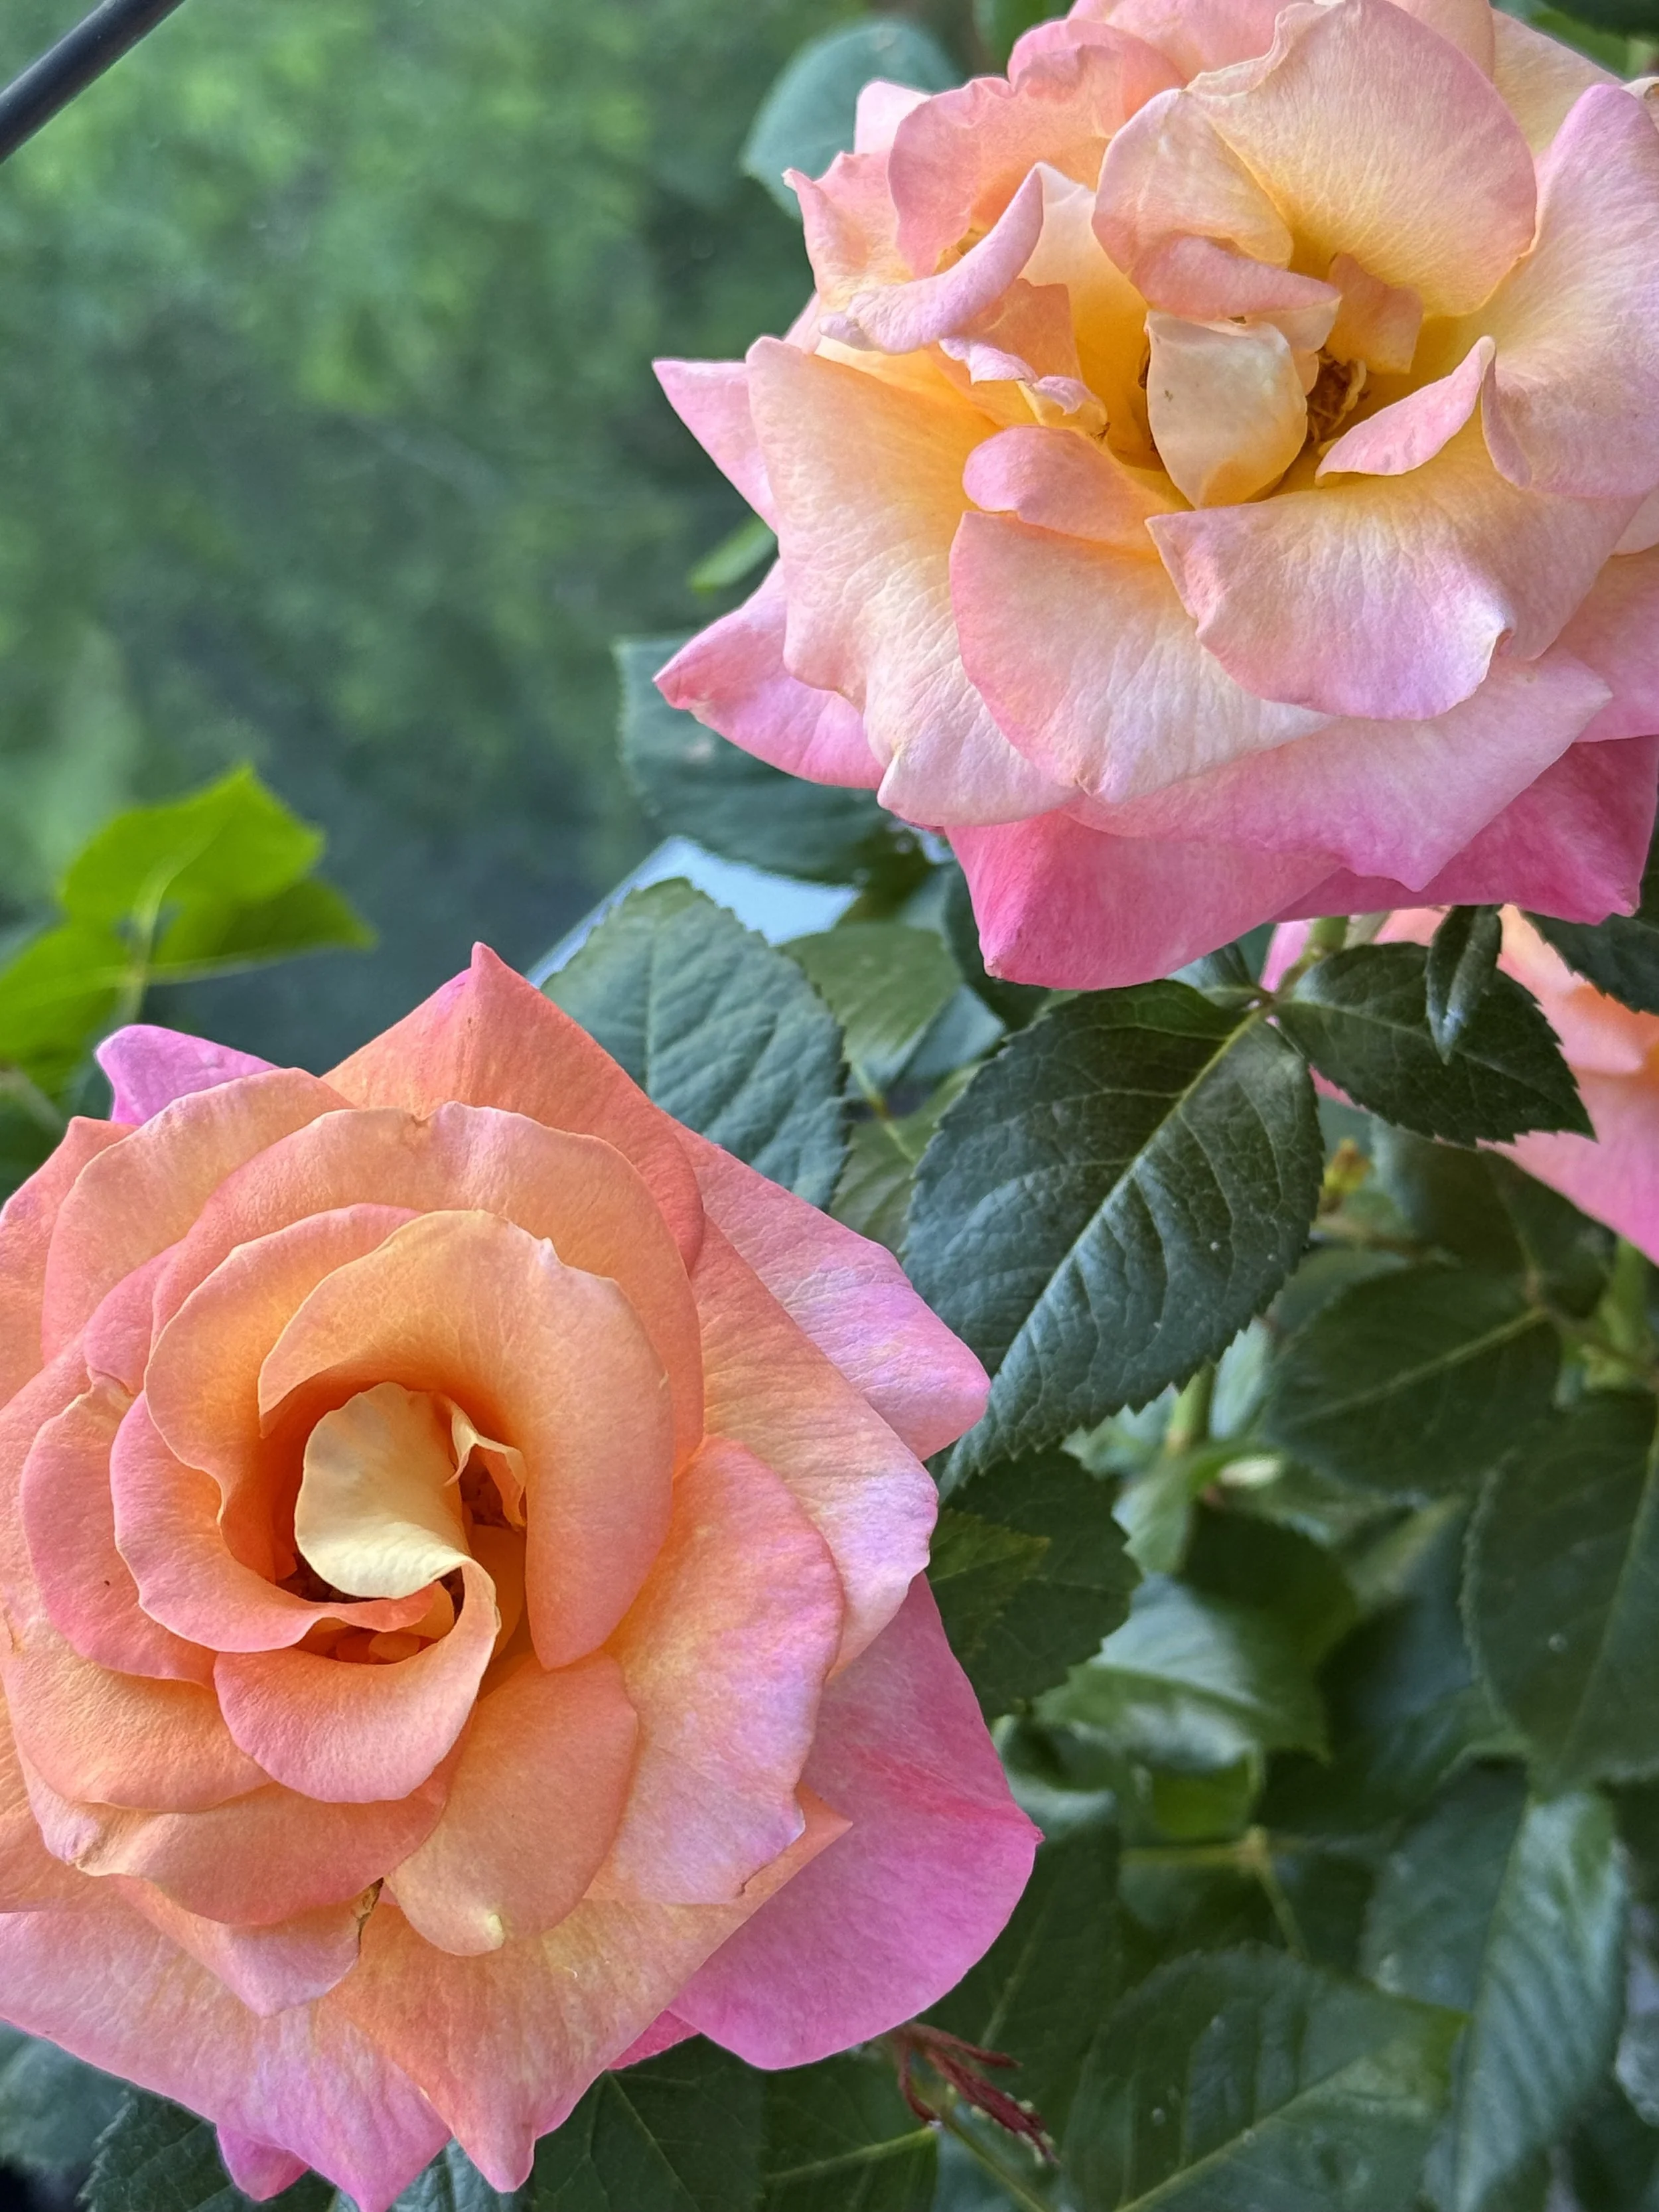
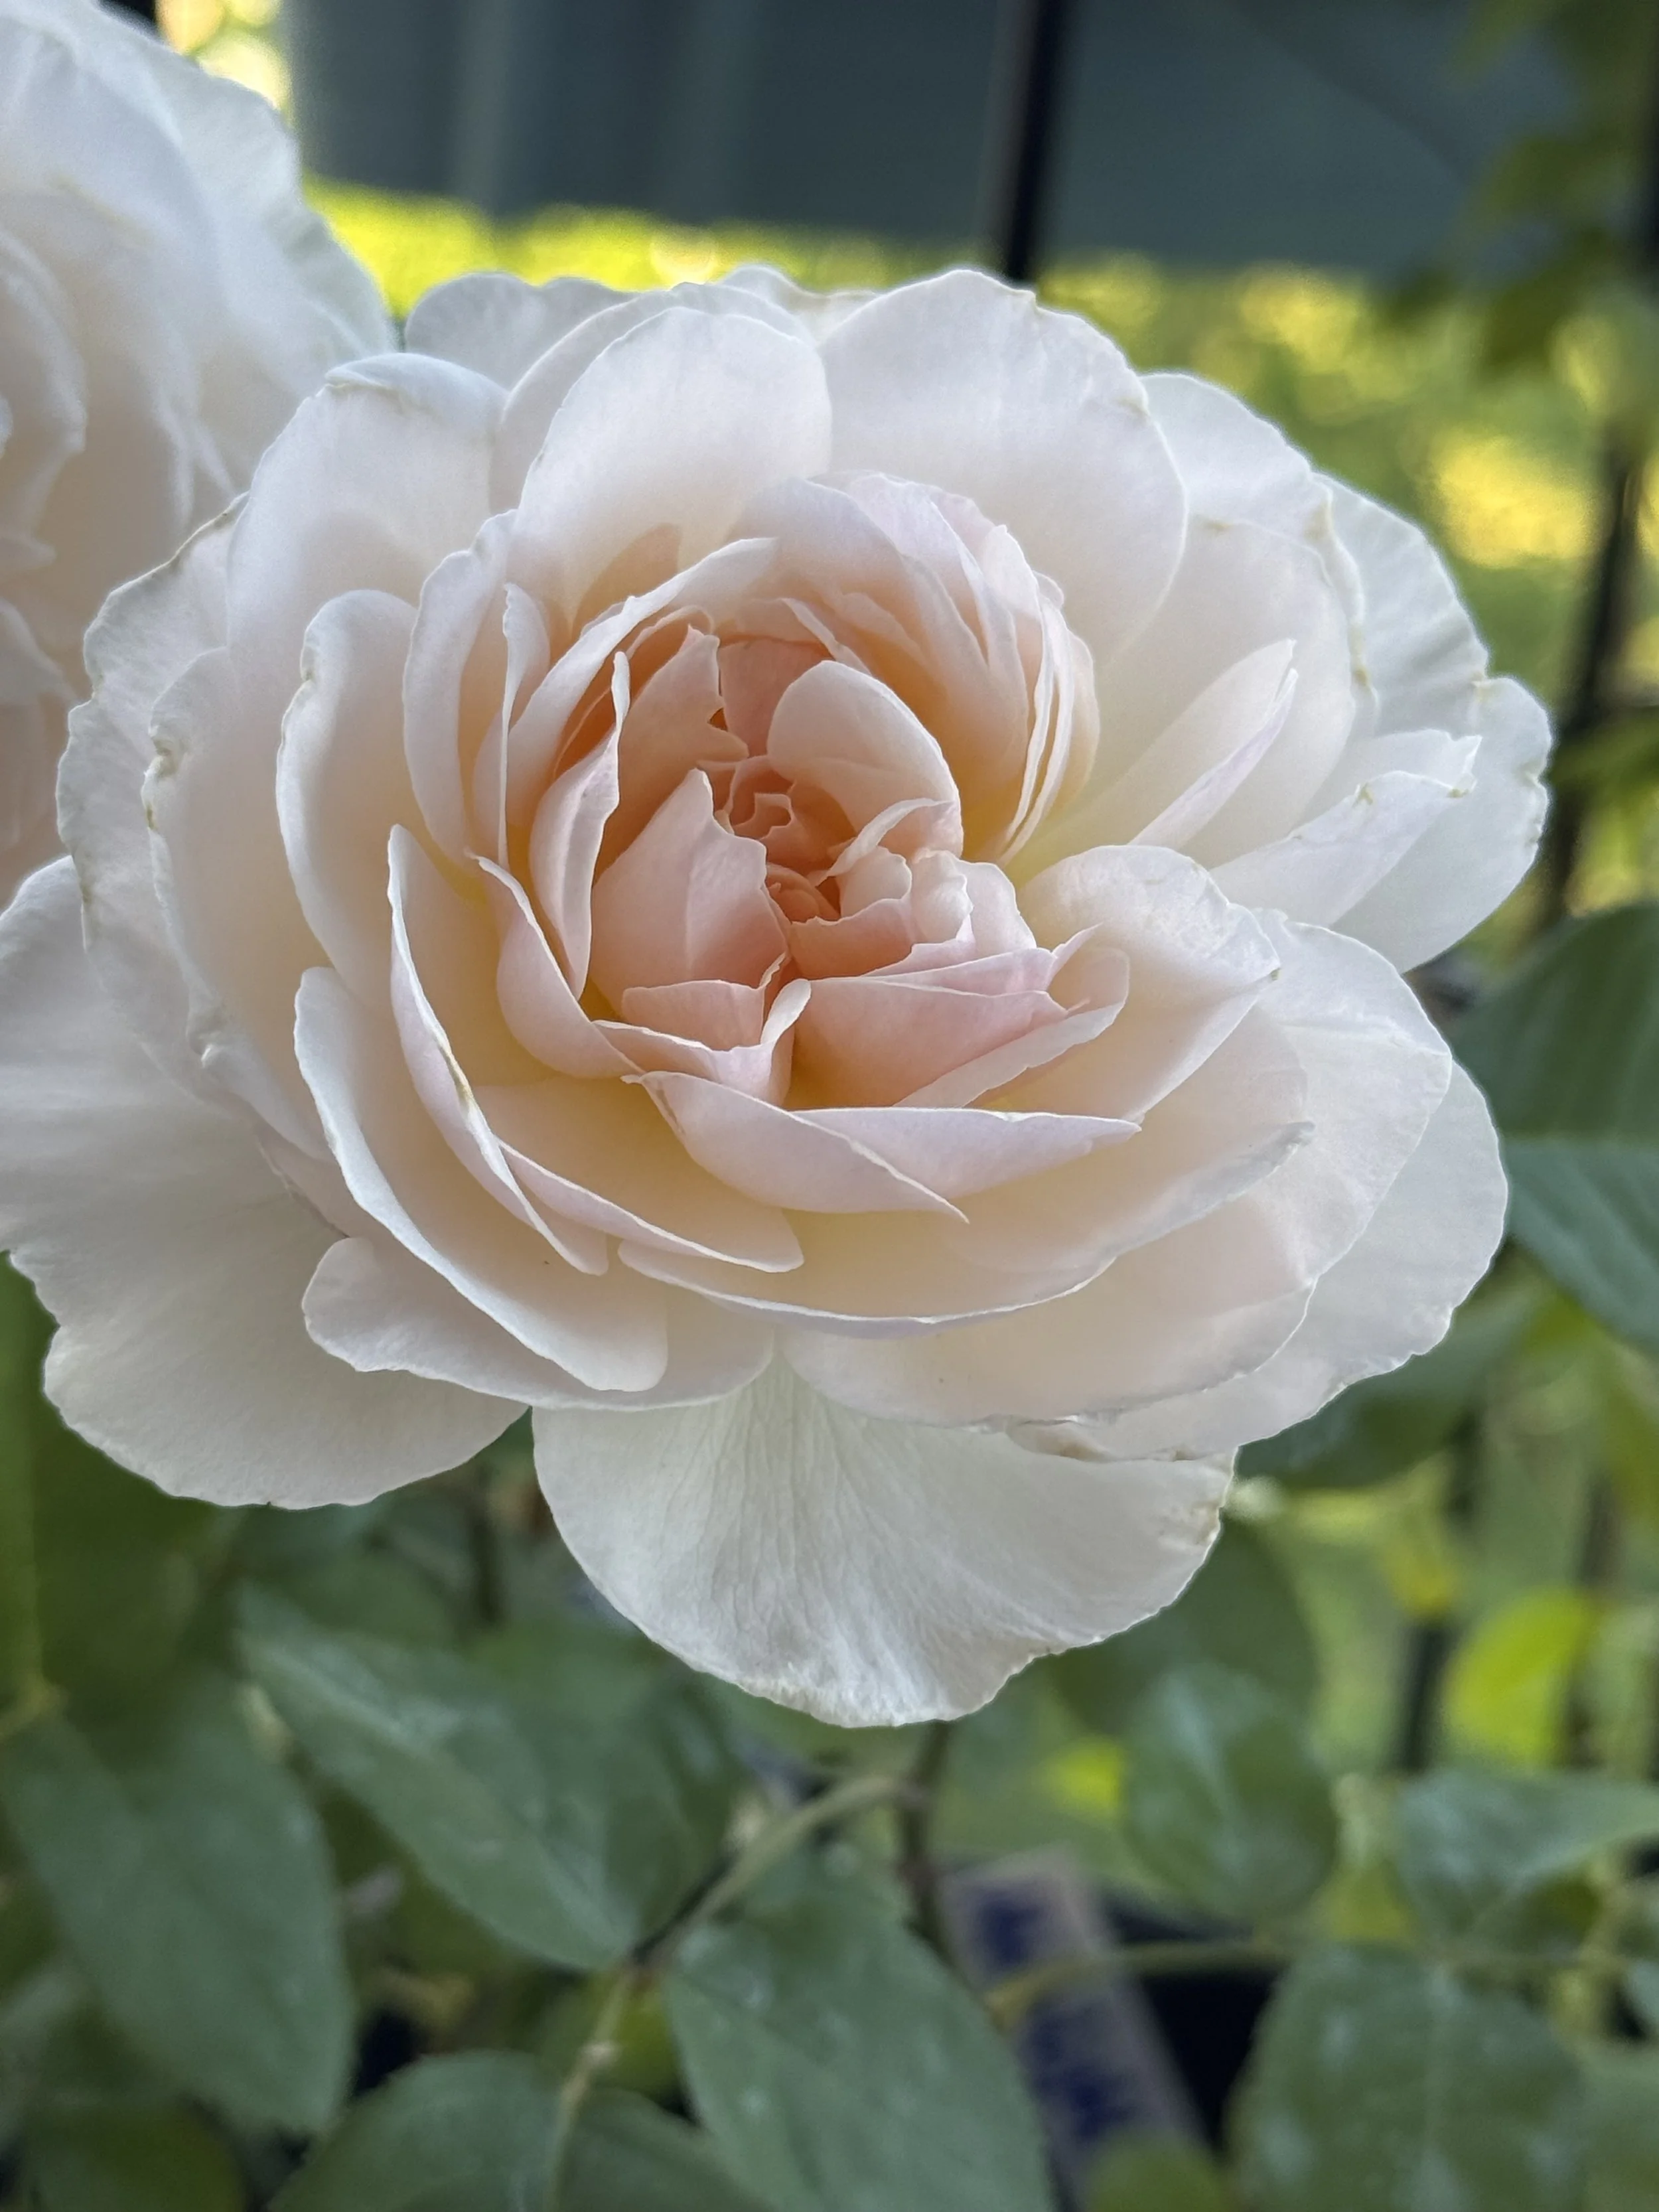
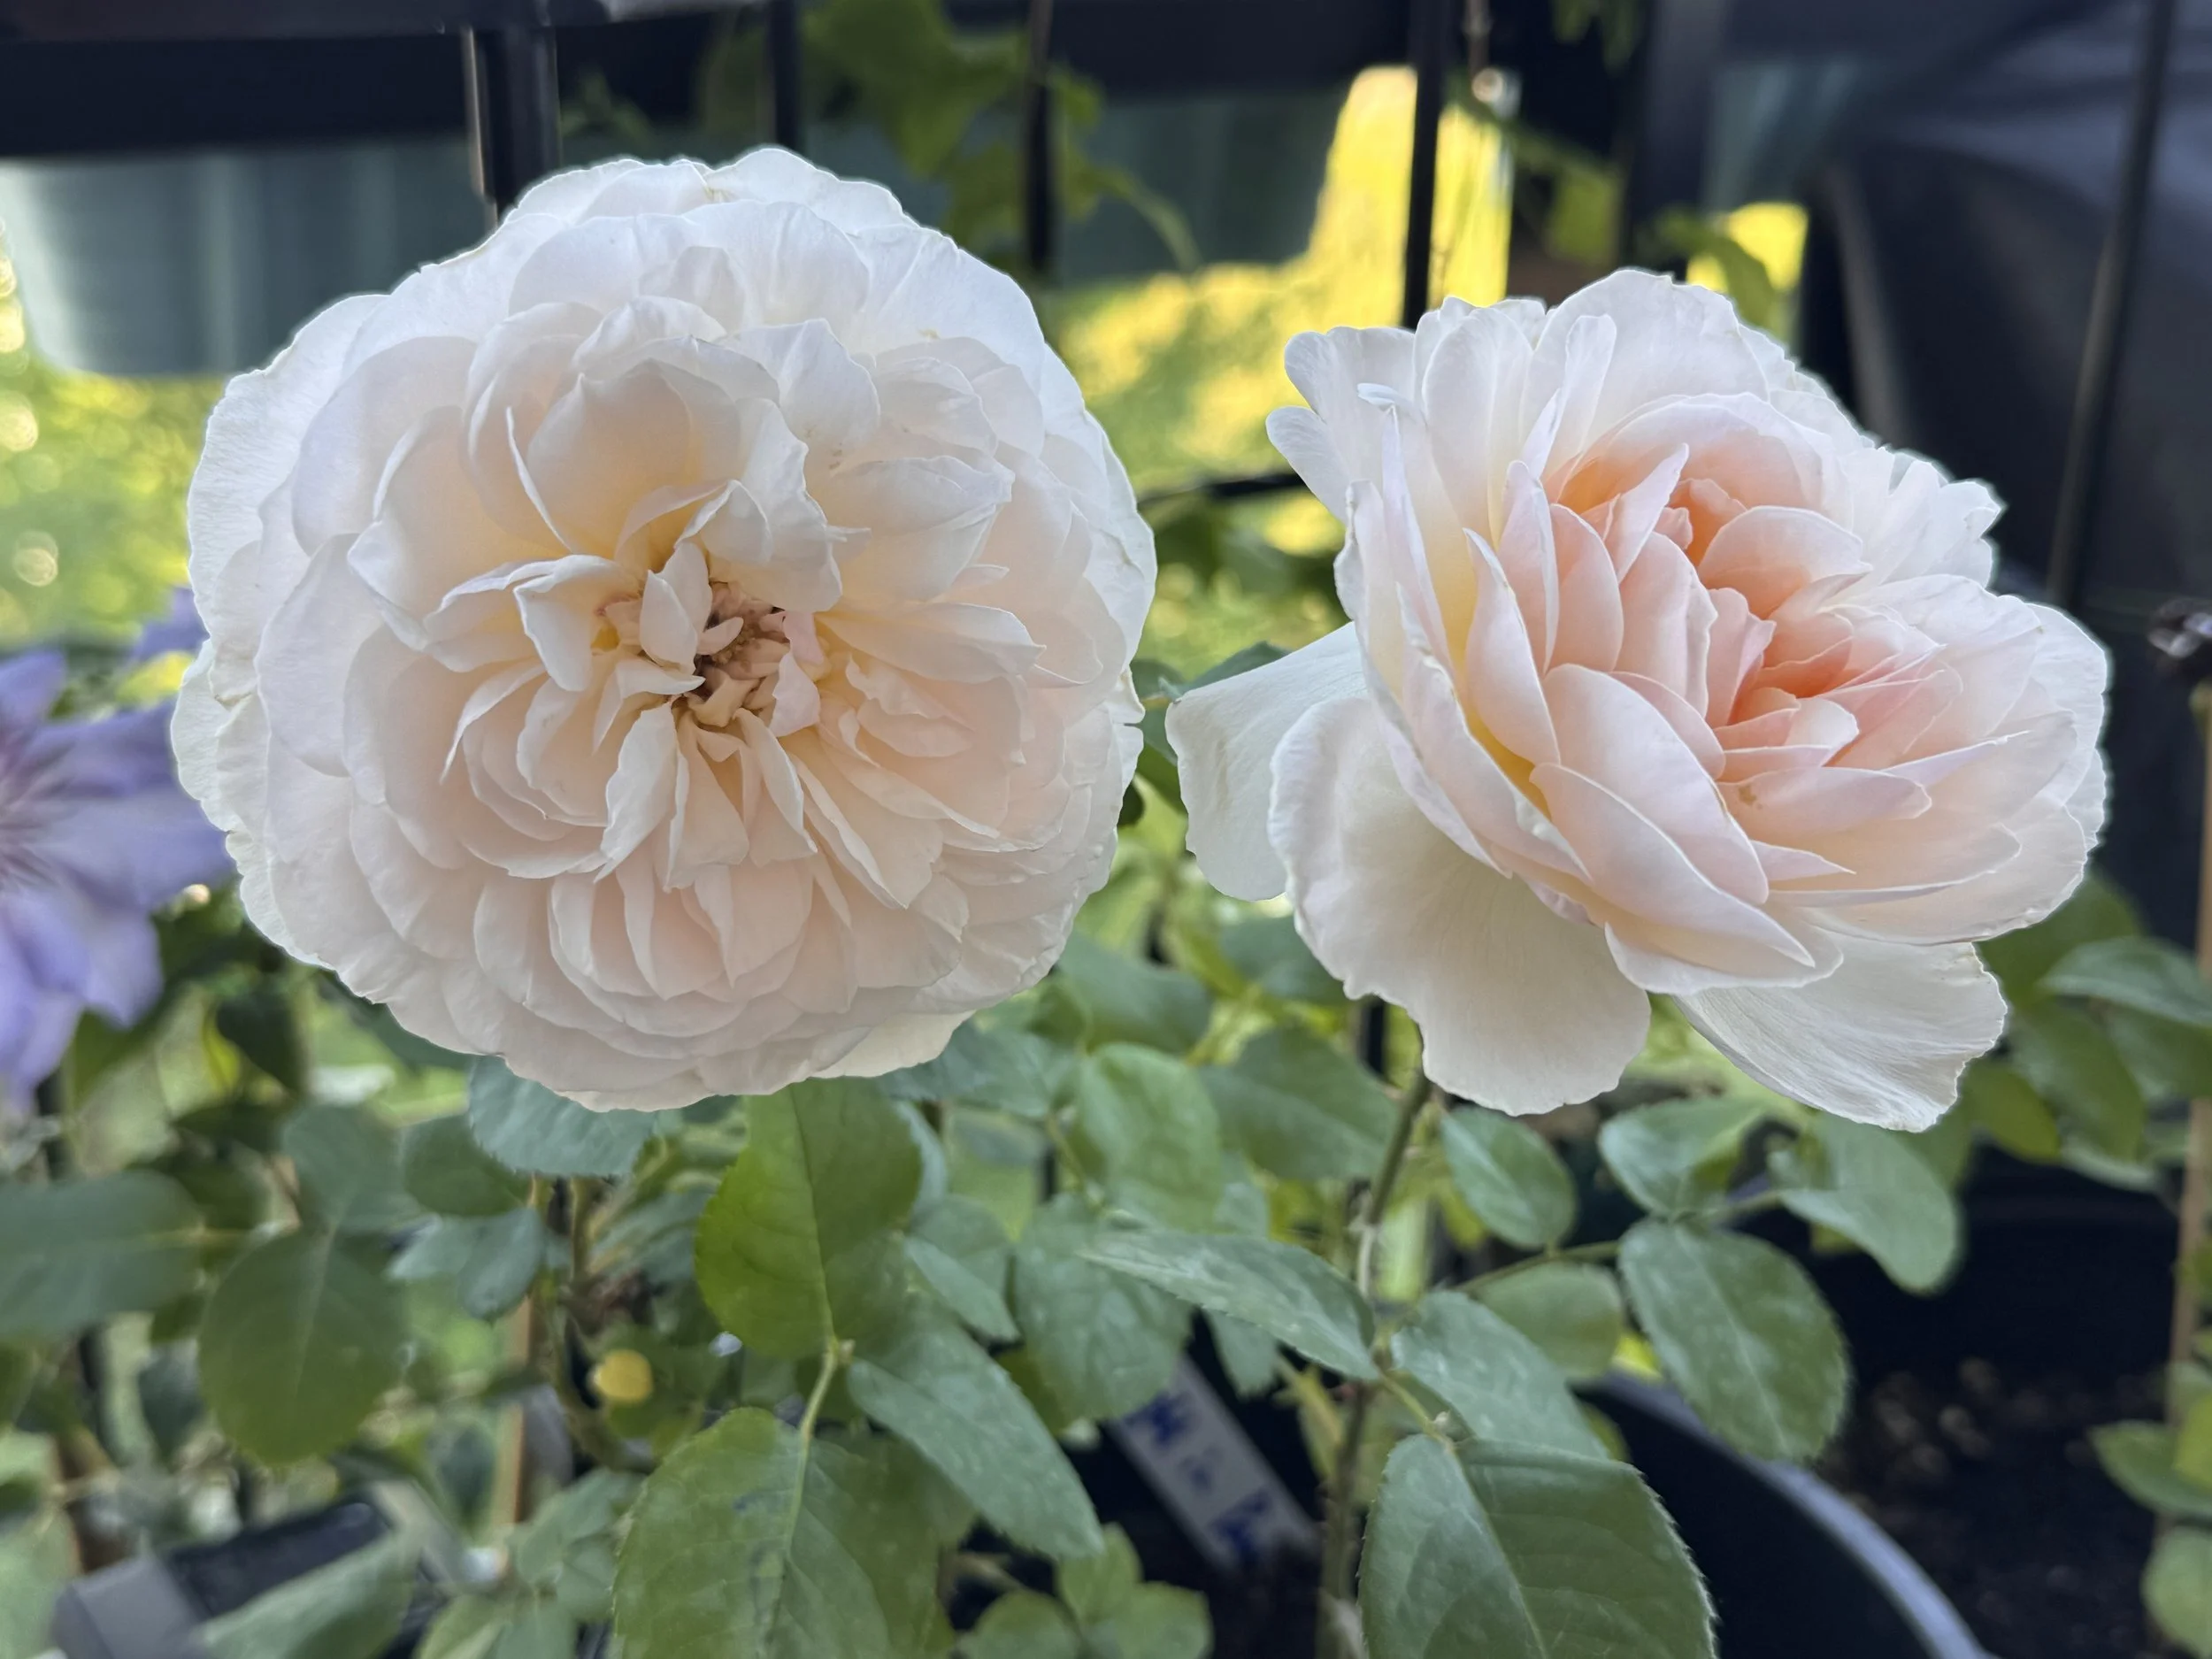
In Day 2 of our rose painting journey, we slow down and step outside the studio for a garden tour, using the most important tool any artist can develop—observation. Together, we’ll study the roses growing in the garden, paying attention to how flowers overlap, how shadows create depth, and how distance changes what we see.

By training our eyes to notice these subtle details, we can make stronger decisions and create more believable, expressive paintings. Back in the sketchbook, we’ll apply what we’ve discovered, refining our composition and building a richer visual story before moving on to a larger painting. Along the way, we’ll explore techniques such as negative painting, creating shadows, establishing distance, and using layers to guide the viewer’s eye through the scene.
This lesson is a reminder that some of the best painting teachers are growing right outside our door. Every bloom, shadow, and leaf has something to teach us if we’re willing to pause and look closely. So grab your sketchbook, join me in the garden, and let’s turn observation into beautiful watercolor roses.
(If you can not view this video, please join my watercolor tutorial membership. (here)
Part 3:
Coming up… Painting the Final Art work..
Happy painting! 🌿🌹✨